The PDF format is the universal standard for sharing and delivering artwork across the printing and design industries. While a .cdr file depends on a specific CorelDRAW version and matching local fonts to open properly, a vector PDF can be viewed and printed on any operating system with 100% precision.
However, converting a CorelDRAW file to PDF incorrectly can introduce severe prepress mistakes: substituted fonts, unintended CMYK color shifts, or pixelated transparent effects.
Below is a complete, step-by-step guide to converting CDR to PDF safely—whether you need an instant free online converter or professional prepress export settings within CorelDRAW.
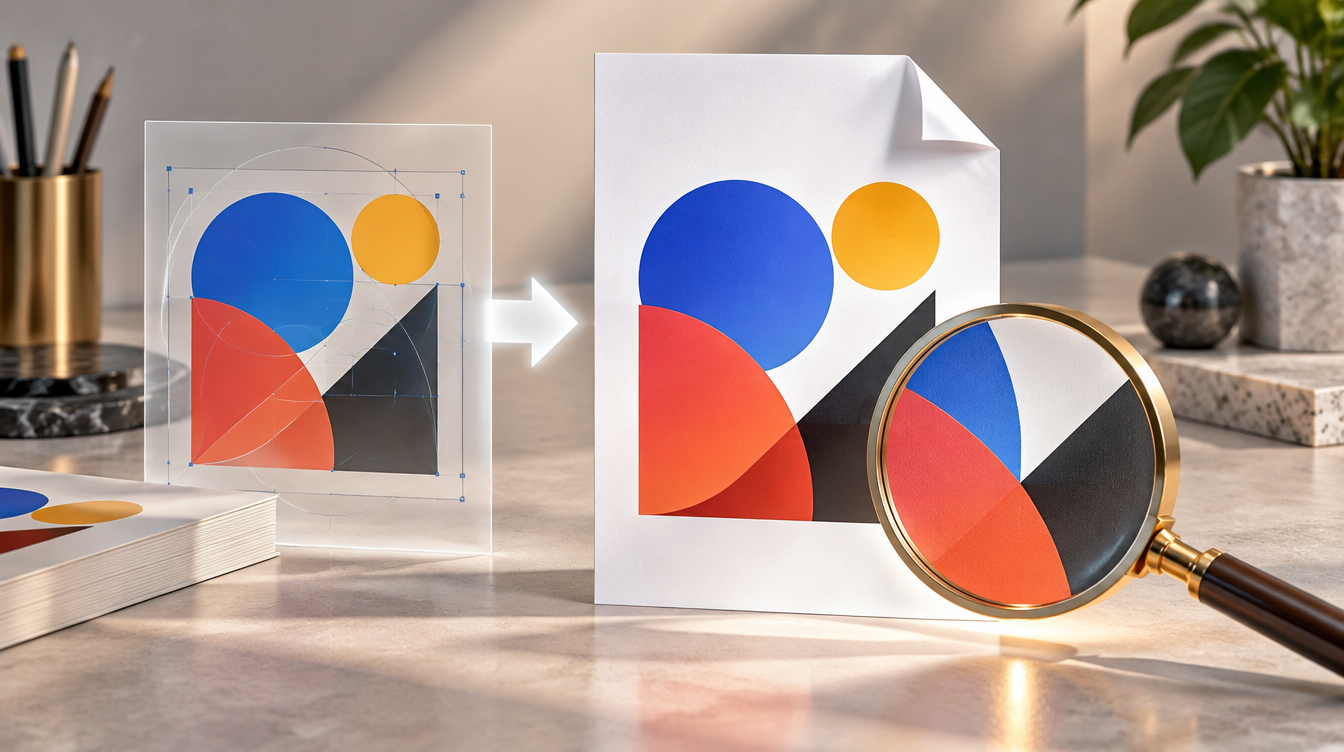
1. The fastest method: convert CDR to PDF online (Without CorelDRAW)
If you don’t have CorelDRAW installed on your machine or you received a file created in a newer version than yours, the most reliable shortcut is CDRfix’s cloud conversion tool:
- Open the CDR to PDF Converter on CDRfix.
- Drag and drop your
.cdrfile (or a.ziparchive containing multiple files). - Wait a few seconds for the vector geometry to process.
- Click Download PDF.
Why CDRfix is different from generic online converters
Many free web converters simply rasterize your graphics: they convert the design into a low-resolution JPG snapshot and wrap it inside a PDF container. As soon as you zoom in or send it to a printer, the lines become fuzzy and pixelated.
CDRfix preserves the genuine vector geometry of your artwork. Lines, anchor nodes, stroke weights, and fills stay vector, guaranteeing clean sharpness whether viewed on screen or printed on an industrial digital press.
Furthermore, CDRfix seamlessly supports recent CorelDRAW releases (such as 2023, 2024, and 2025), which outdated online tools frequently reject.
2. Professional prepress PDF export inside CorelDRAW
If you have CorelDRAW and are preparing production files for an offset or digital commercial printer, avoid using “Save As” or virtual print drivers.
The industry-approved workflow is CorelDRAW’s native Publish to PDF tool:
Step-by-step instructions:
- Open your document in CorelDRAW and go to
File ▸ Publish to PDF…. - Choose your destination folder and filename.
- In the PDF Preset dropdown, select PDF/X-1a (the gold standard for commercial print shops).
- Click the Settings… button to verify four vital tabs:
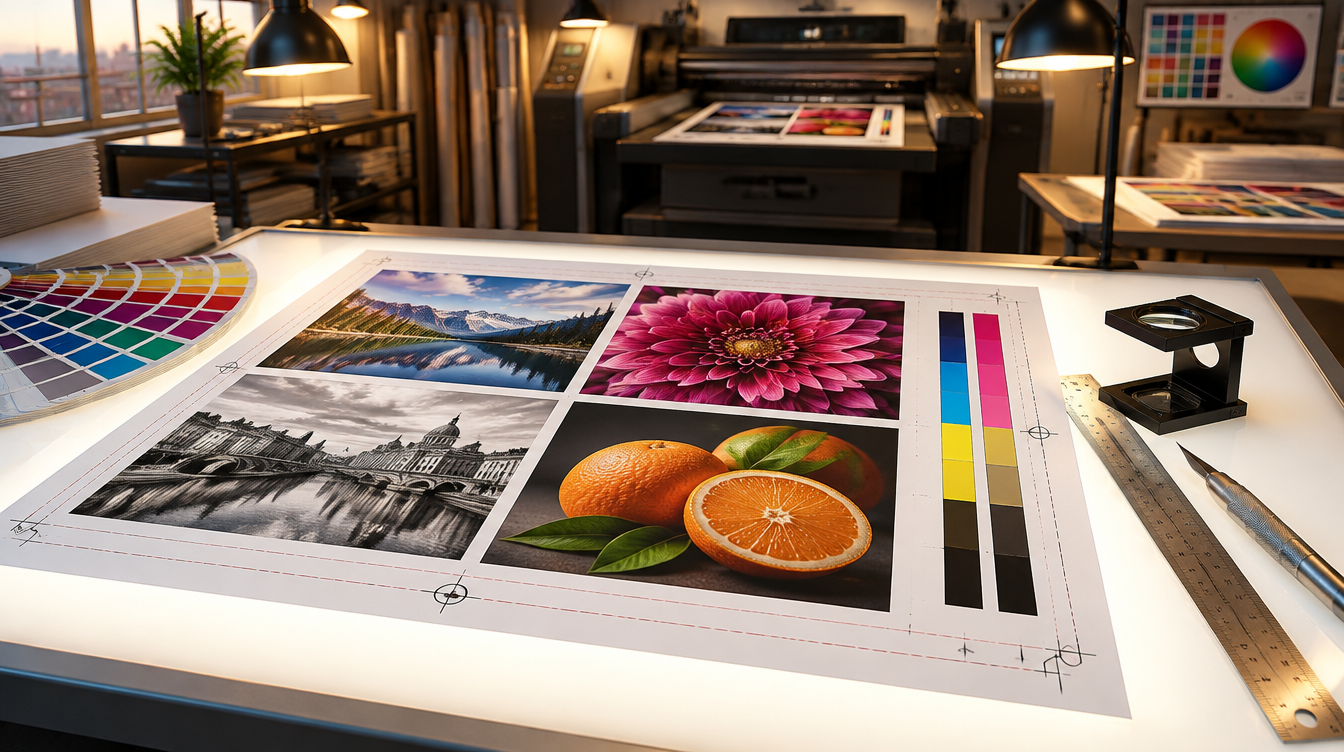
Crucial export settings:
- Color Tab:
- Set Color management output to CMYK (unless you are preparing exclusively for digital screens, where RGB applies).
- Check Apply ICC profile to avoid unexpected color hue shifts.
- Objects Tab (Most Critical):
- Always check: “Export all text as curves”. This converts every typographic glyph into vector outlines, eliminating font mismatch errors at the print shop.
- Set bitmap compression resolution to 300 DPI (standard print resolution).
- Prepress Tab:
- If your document has bleeds (such as business cards, flyers, or banners), enable Bleed limit and input the required margin (typically
2 mmto5 mmor0.125 in). - Check Crop marks if requested by your print technician.
- If your document has bleeds (such as business cards, flyers, or banners), enable Bleed limit and input the required margin (typically
- Advanced Tab:
- Ensure compatibility is set to Acrobat 4.0 (PDF 1.3) for PDF/X-1a. This reliably flattens complex transparency effects without crashing the printer’s raster image processor (RIP).
- Click OK, then click Save.
3. How to convert CDR to PDF for free using Inkscape
If you want a free desktop software alternative installed on your computer, the open-source editor Inkscape can convert simple CorelDRAW files:
- Launch Inkscape and click
File ▸ Open…. - Select your
.cdrfile and confirm import. - Once loaded onto the canvas, go to
File ▸ Save As…(orExport…). - Select Portable Document Format (*.pdf) as the output file type.
- In the PDF dialog, make sure to check “Convert texts to paths” so fonts remain vectorized.
Caution: Inkscape relies on third-party reverse-engineered libraries (
libcdr) to read CorelDRAW data. Complex elements like Mesh Fills, 3D extrusions, and advanced lens transparency can distort during import. Always double-check your generated PDF carefully before printing.
4. The 4 most common mistakes when converting CDR to PDF
| Common Mistake | Root Cause | Solution |
|---|---|---|
| Fonts changed to Courier or Arial | PDF generated without outlining text, and the target computer lacks the original font. | Always check “Export all text as curves” or outline fonts (Ctrl + Q) before exporting. |
| Dull or shifted colors | Designed in RGB and exported in CMYK without proper color profiles, or vice versa. | Work in CMYK from the beginning for printed materials and apply standard profiles like FOGRA39 or GRACoL. |
| White edges after trimming | Background colors do not extend beyond the trim edge (missing bleed). | Add at least 2 mm to 3 mm of bleed on all sides before creating the PDF. |
| Pixelated, blurry images | Embedded photos were low resolution (e.g., 72 DPI images downloaded from the web). | Ensure all raster photos have at least 300 DPI at 100% printed scale. |
5. How to re-open a PDF in CorelDRAW for further editing
If you only have the PDF file and need to make design modifications inside CorelDRAW later:
- Launch CorelDRAW and create a new blank document matching the artwork size.
- Go to
File ▸ Import…(Ctrl + I) and pick your PDF. - In the import prompt, select:
- Text: attempts to keep text blocks editable (requires the fonts on your system).
- Curves: imports text as vector paths. Recommended if you only need to adjust graphics without altering typography.
- Hit Enter to center the graphic on your artboard.
If you are dealing with colleagues or clients on older CorelDRAW versions, you can also use the CDRfix Version Downgrade Tool to stay within the native .cdr ecosystem.
6. Summary: Which method should you choose?
- For viewing, proofing, or emailing to clients without software: Use the CDRfix CDR to PDF Converter. It is fast, free, and operates directly in your browser.
- For industrial print runs and prepress production: Use CorelDRAW’s native
Publish to PDFwith the PDF/X-1a preset, ensuring bleeds and outlined text curves.
Frequently asked questions about converting CDR to PDF
How do I convert CDR to PDF with outlined text curves?
In CorelDRAW, select your objects and hit Ctrl + Q to convert fonts into vector curves. Under Publish to PDF ▸ Settings ▸ Objects, make sure “Export all text as curves” is checked. When using the CDRfix Online Converter, text curves and vector fidelity are preserved automatically.
What is the difference between PDF/X-1a and PDF/X-4 for commercial printing?
PDF/X-1a mandates that all colors are converted to CMYK and flattens all transparency effects, making it the safest choice for traditional offset presses. PDF/X-4 allows live transparency and mixed color spaces, ideal for modern digital presses.
Does converting a CDR to PDF reduce vector quality?
No. Converting a CDR to PDF maintains pure mathematical Bézier curve coordinates and vector anchor nodes. The PDF maintains crisp, lossless resolution at any print dimension or zoom magnification.
How do I convert a CDR to PDF on a mobile phone without CorelDRAW?
Open your smartphone browser, visit the CDRfix CDR to PDF Converter, upload the .cdr file, and download the vector PDF directly to your device ready to share via email or messaging apps.